
DIY Magnetic Makeup Board
As most of you know I have really been focused on getting my house organized. My main focus the past month has been my bathroom. This includes organizing my makeup. Recently someone posted a picture on facebook about a Magnetic Makeup Board. I thought this idea was amazingly brilliant and would be super cheap and easy to make! So I thought I would give it a try! Plus it would give me a chance to see all the makeup I had instead of digging around my makeup bag for everything!
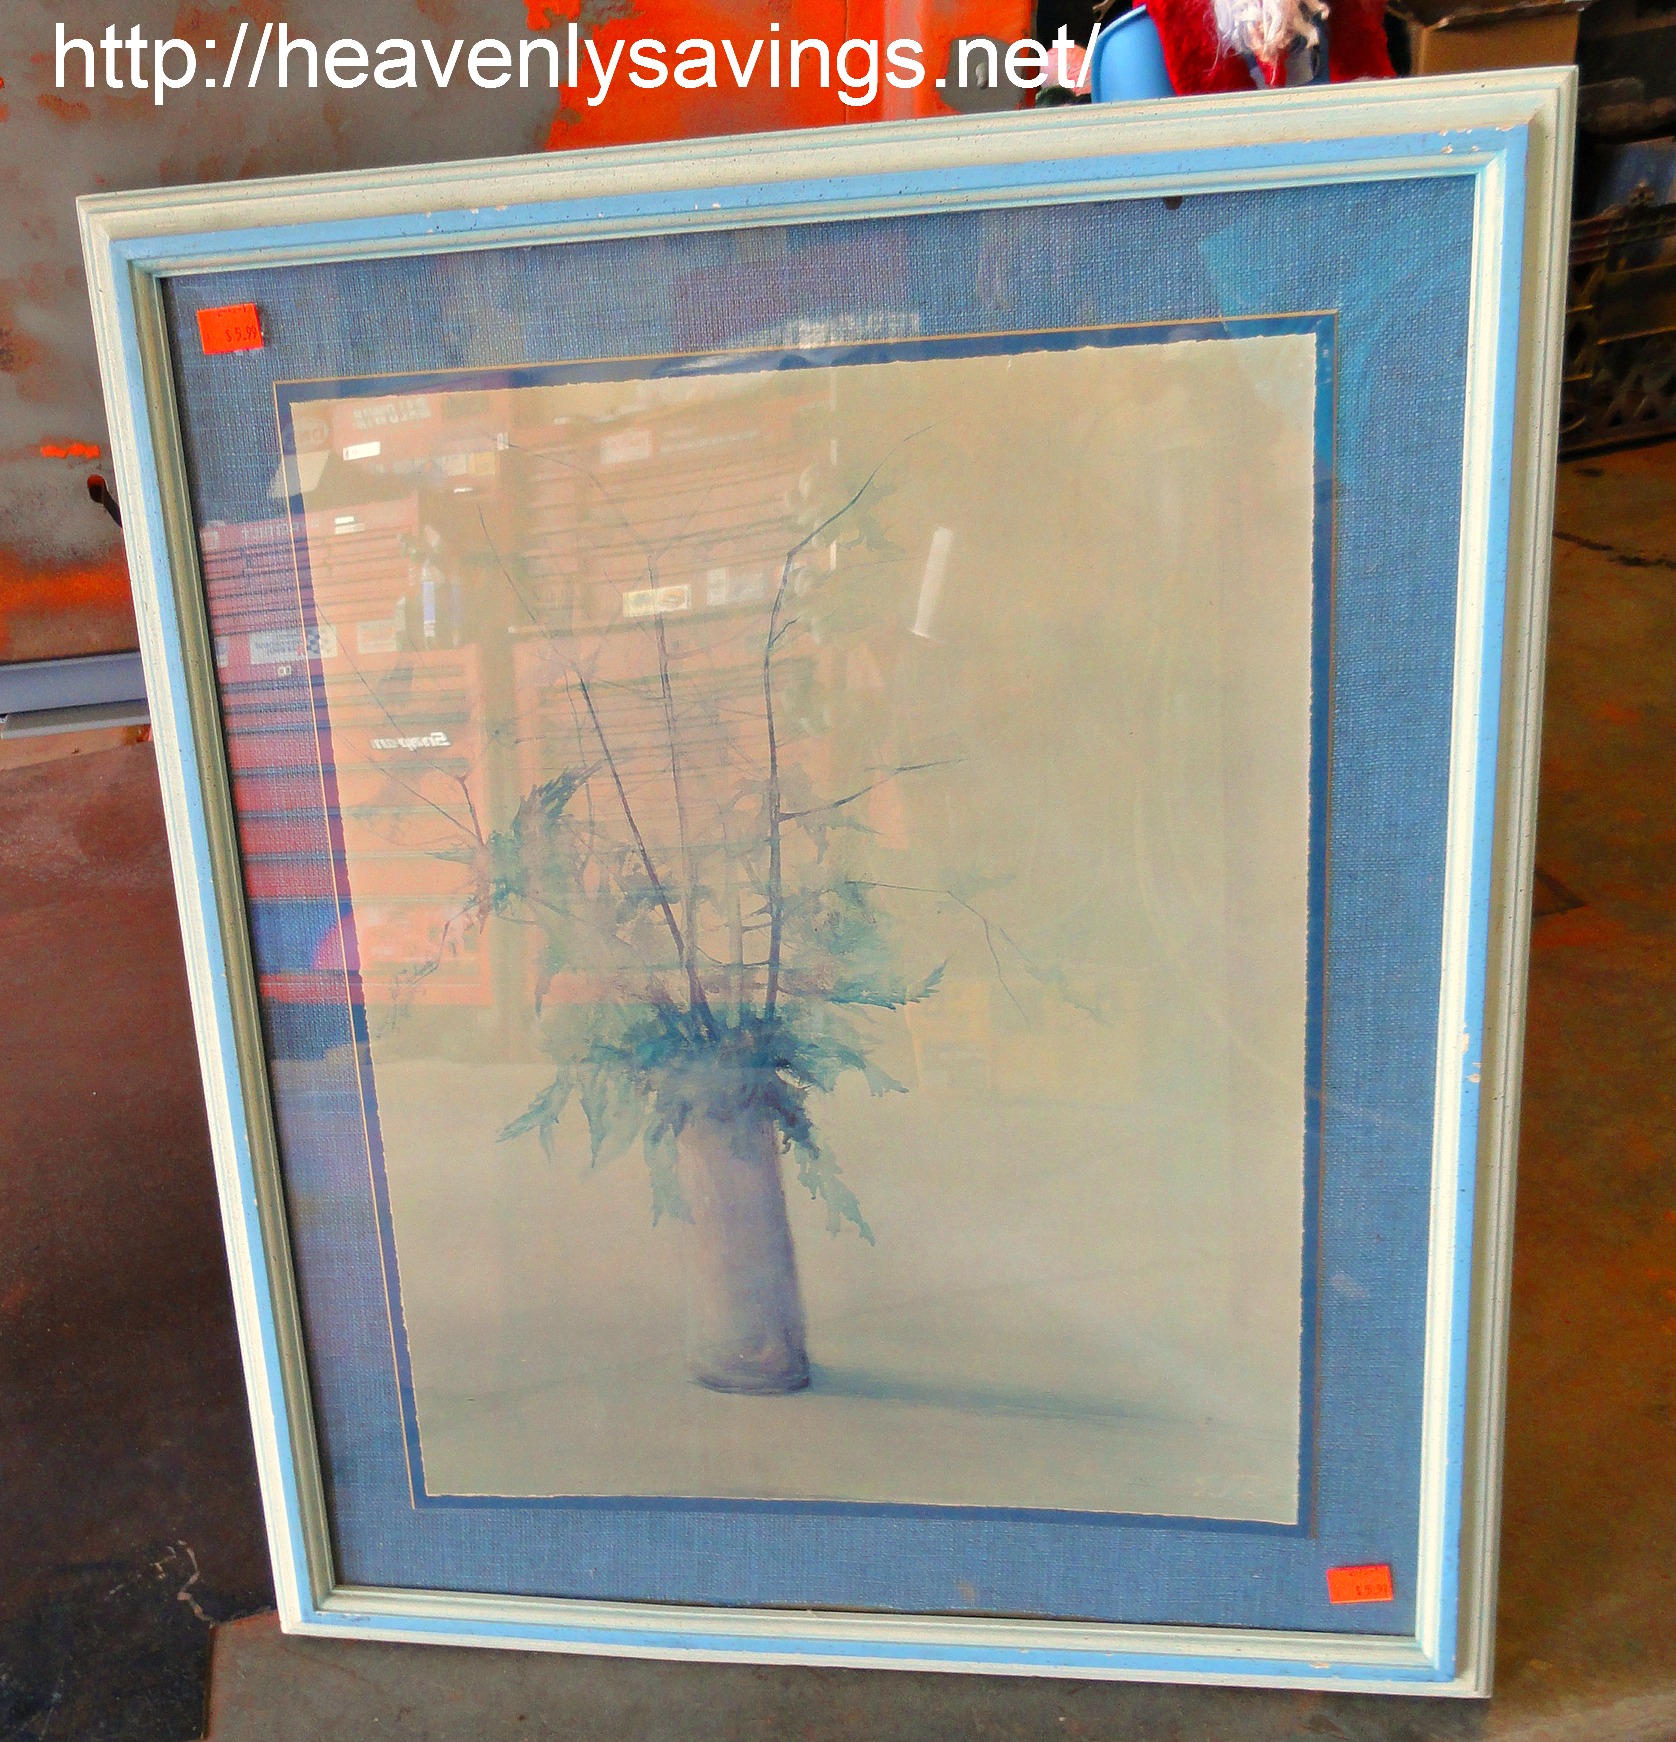
The first step to this project was finding the perfect picture to turn into a magnet board. For this I went to my local Thrift Store. I found a picture frame that would work and purchased it for $3.50!
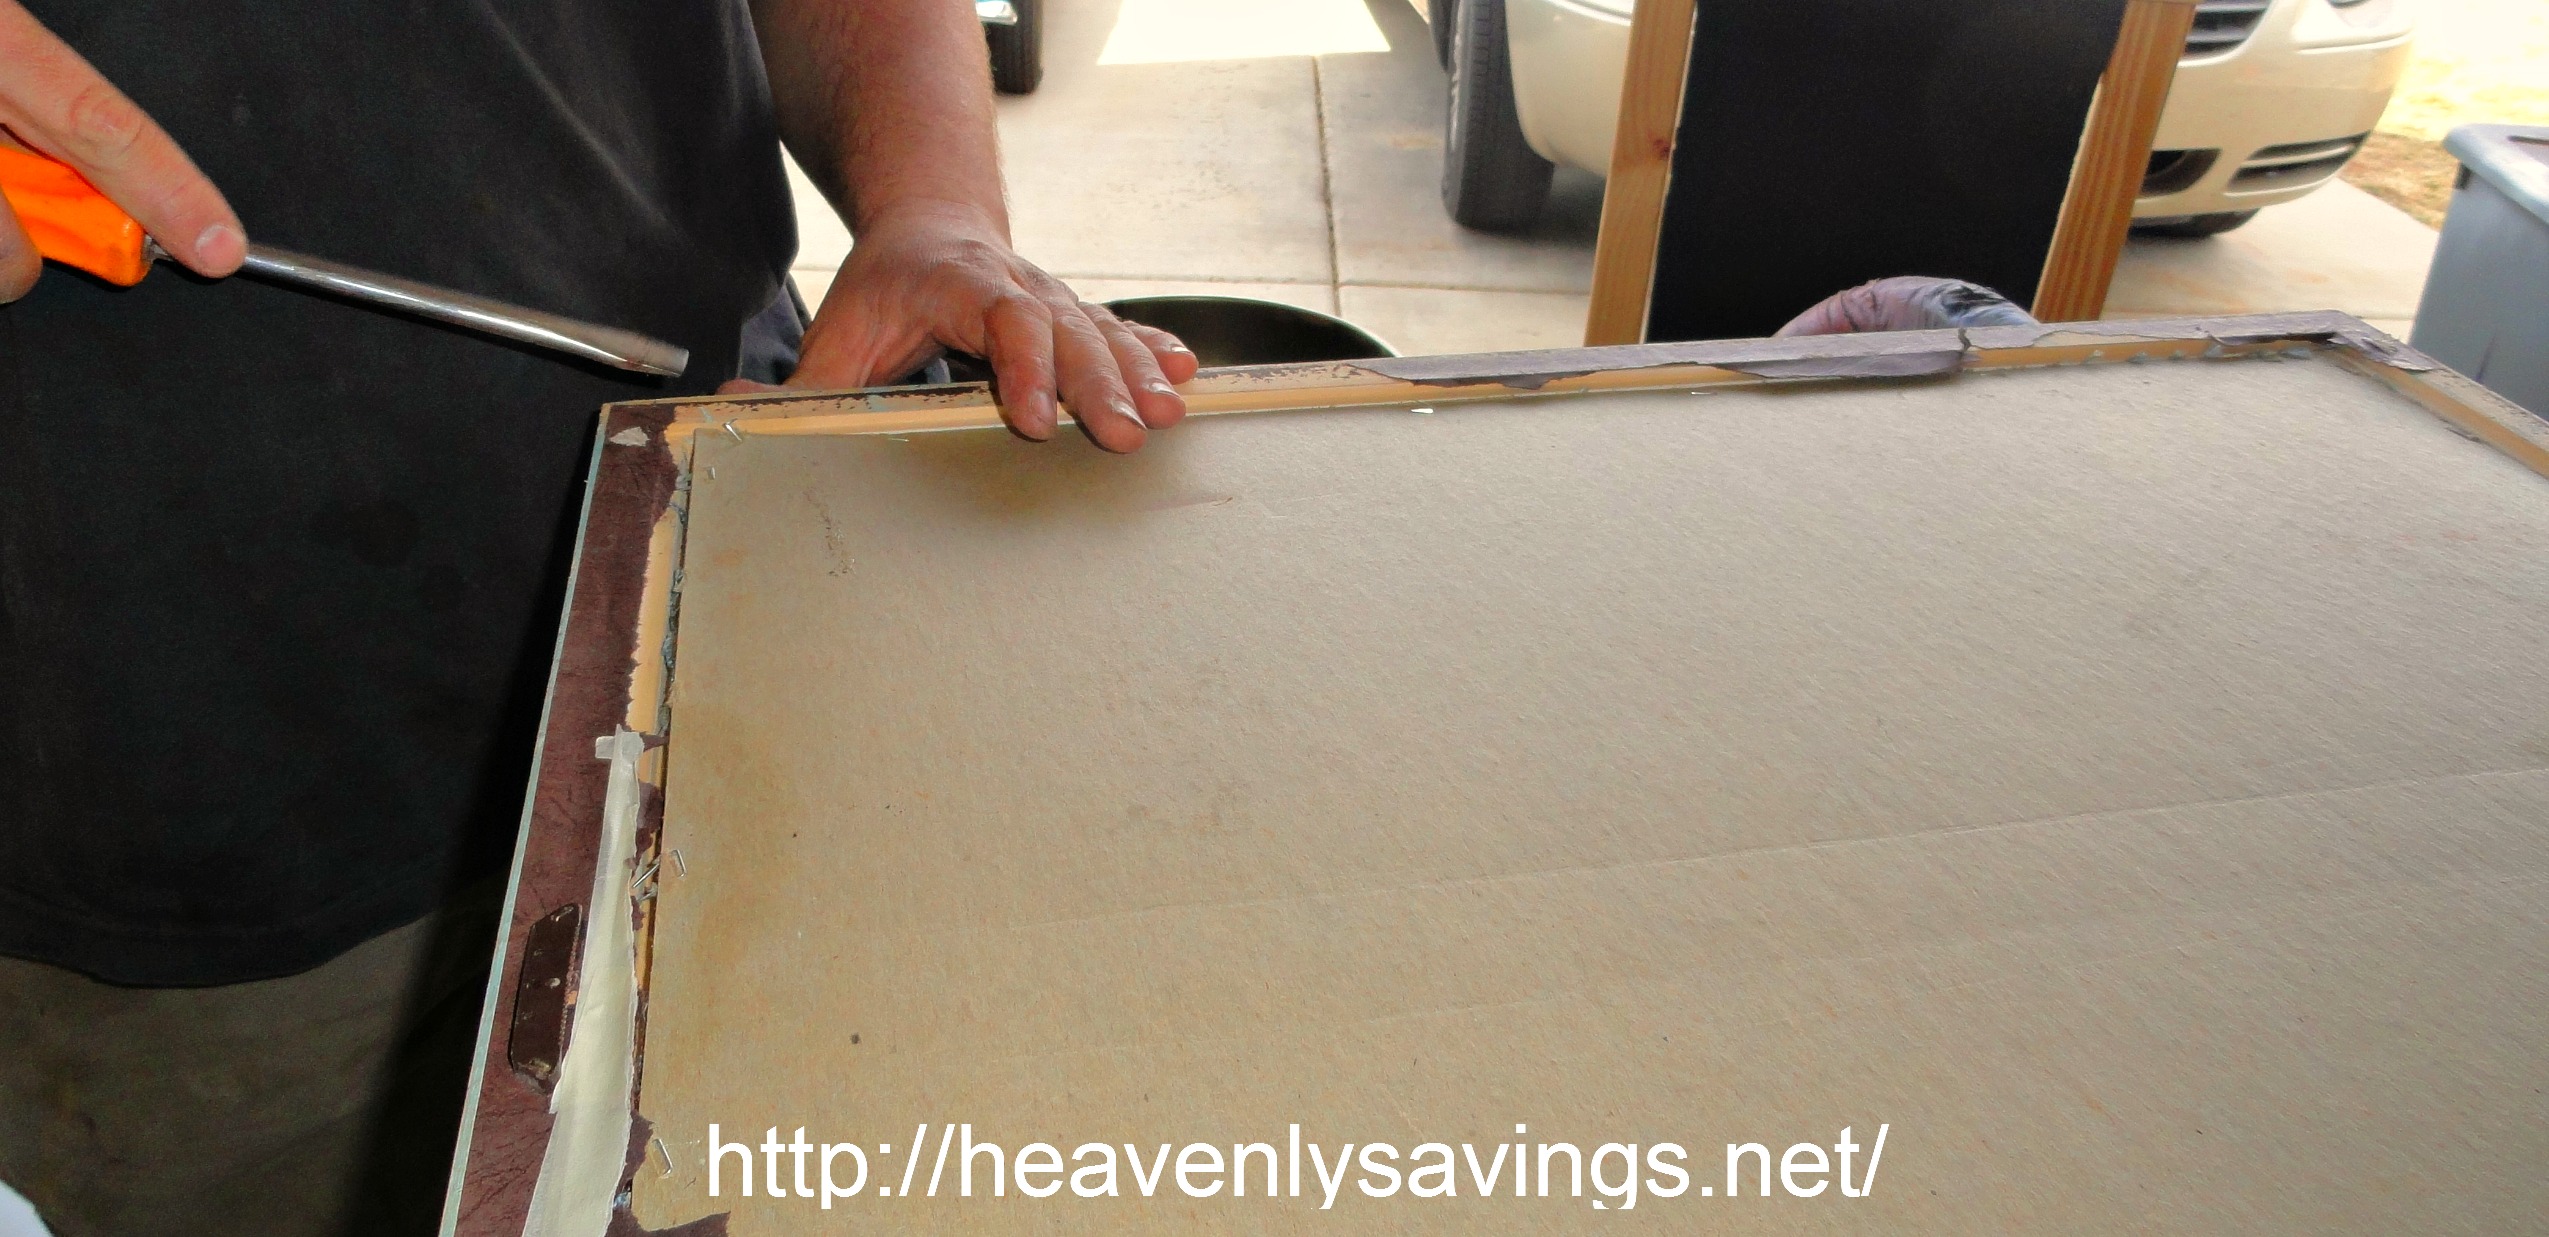 Once I got the picture frame home I got to work on my project. The first step was removing the backing from the picture frame. This picture was held together by staples so we took a screwdriver and removed all the staples from the backing.
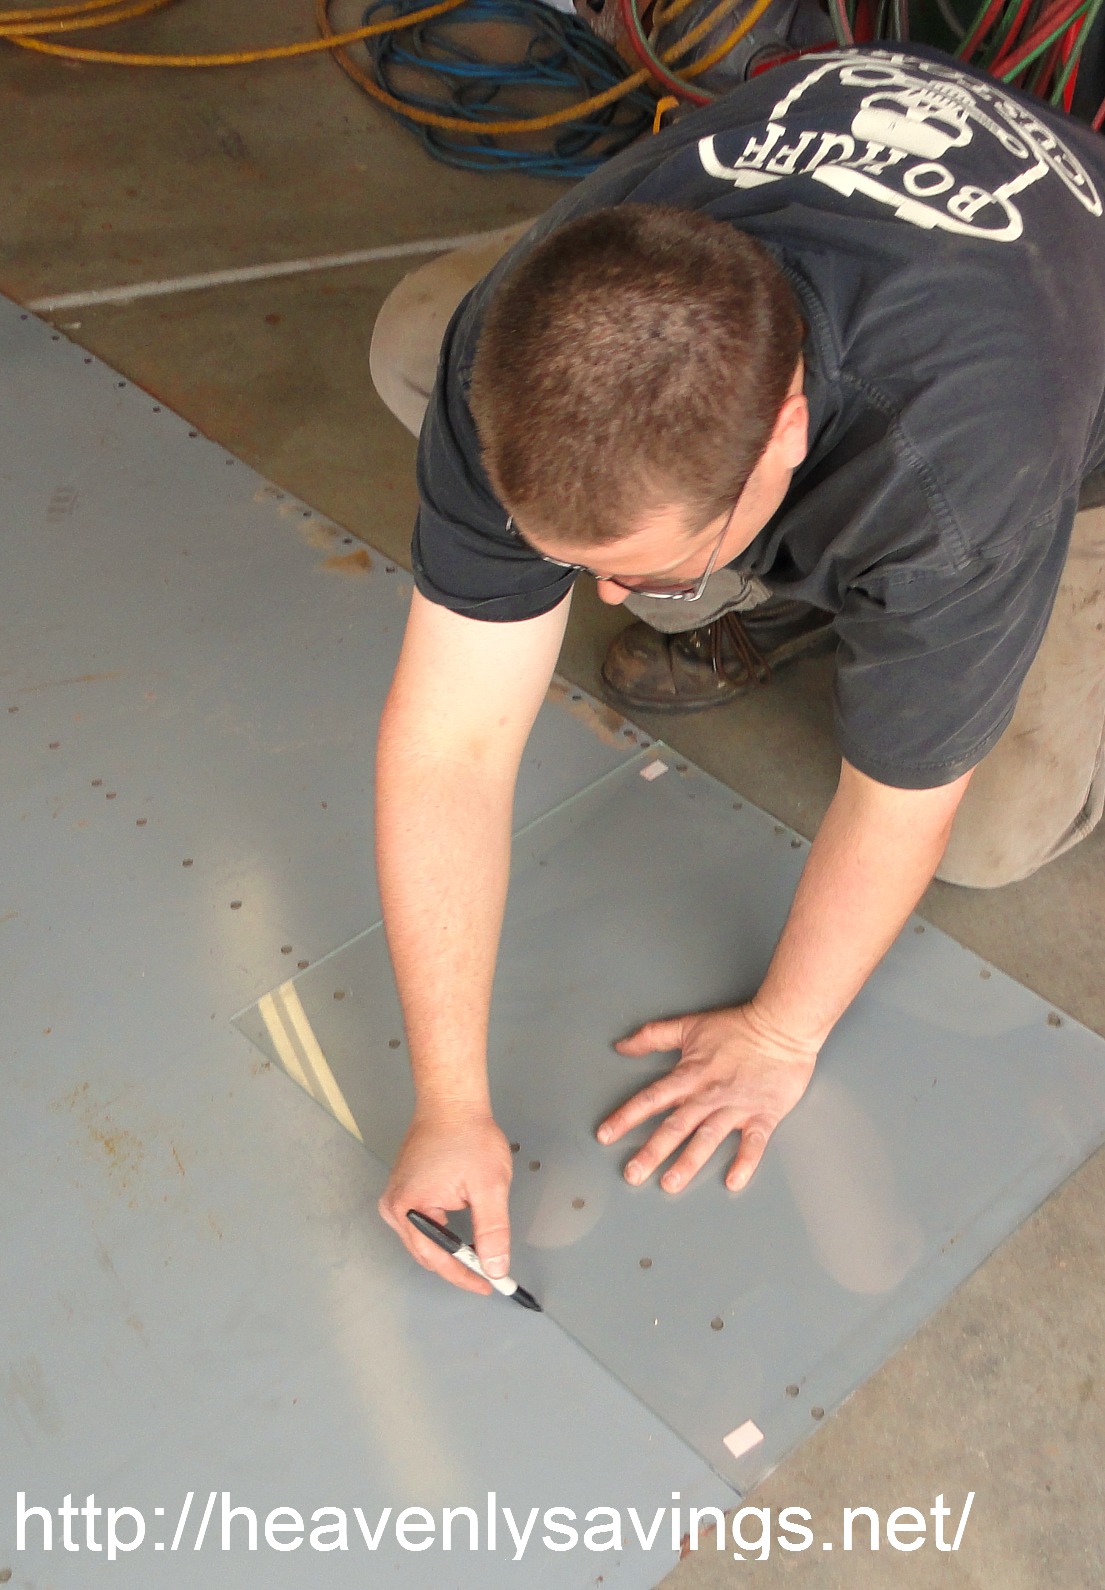 Next my husband took the glass out of the picture frame. He traced it on a piece of scrap metal that he had laying around. I understand that scrap metal might not be laying around everyone’s house like it was at mine. Not to worry though…you can purchase a piece of scrap metal at any local hardware store or Home Depot, Lowes, etc…..
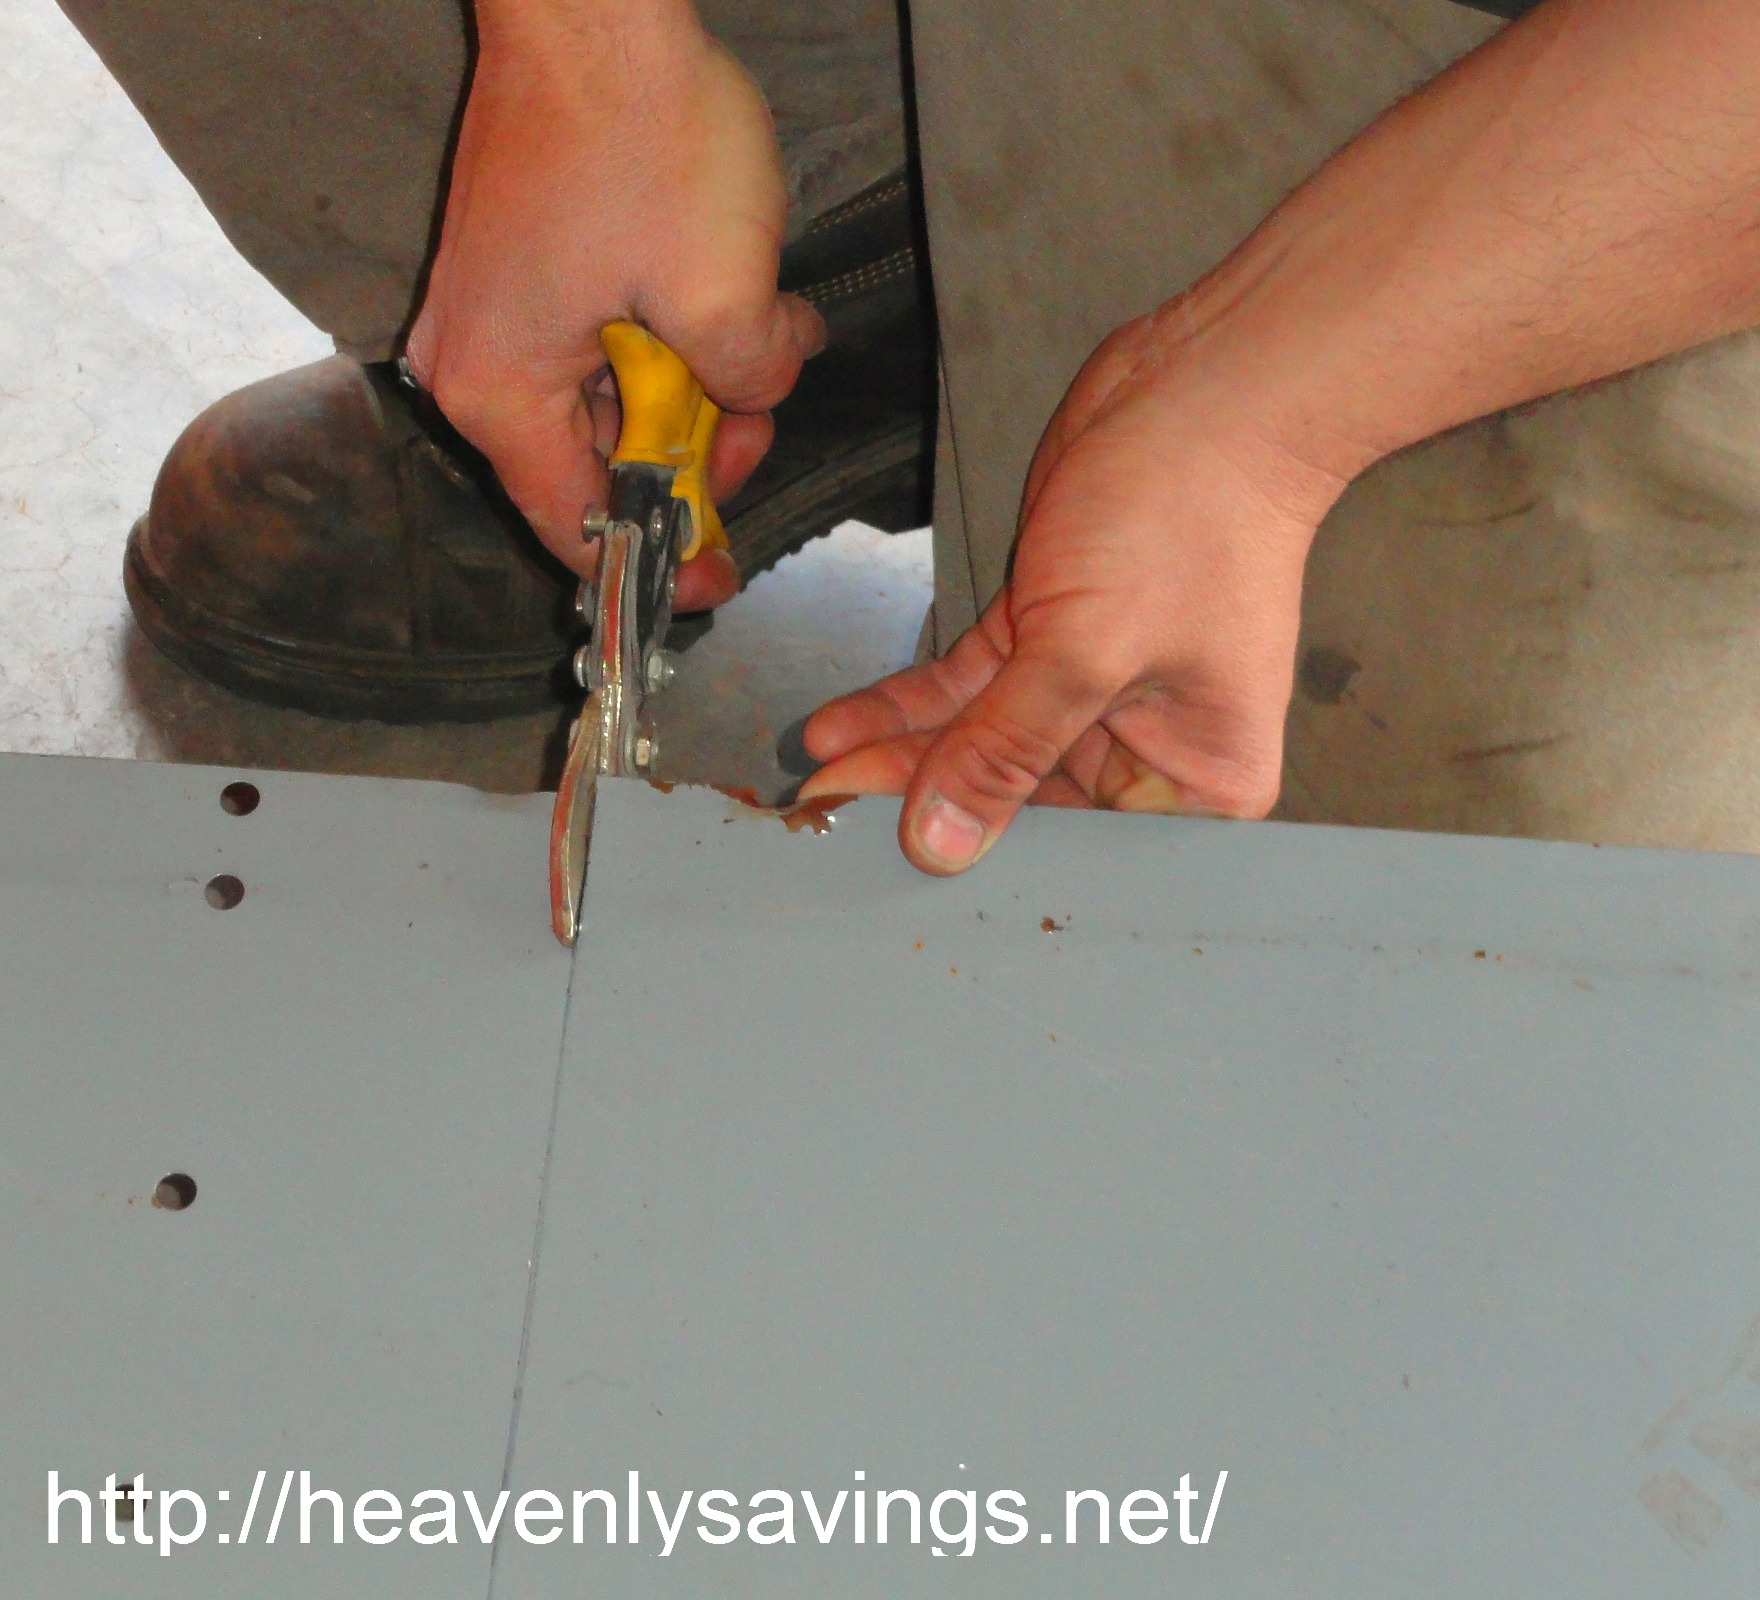 Next thing my husband did was cut the metal along the line he had traced from the glass in the picture frame.
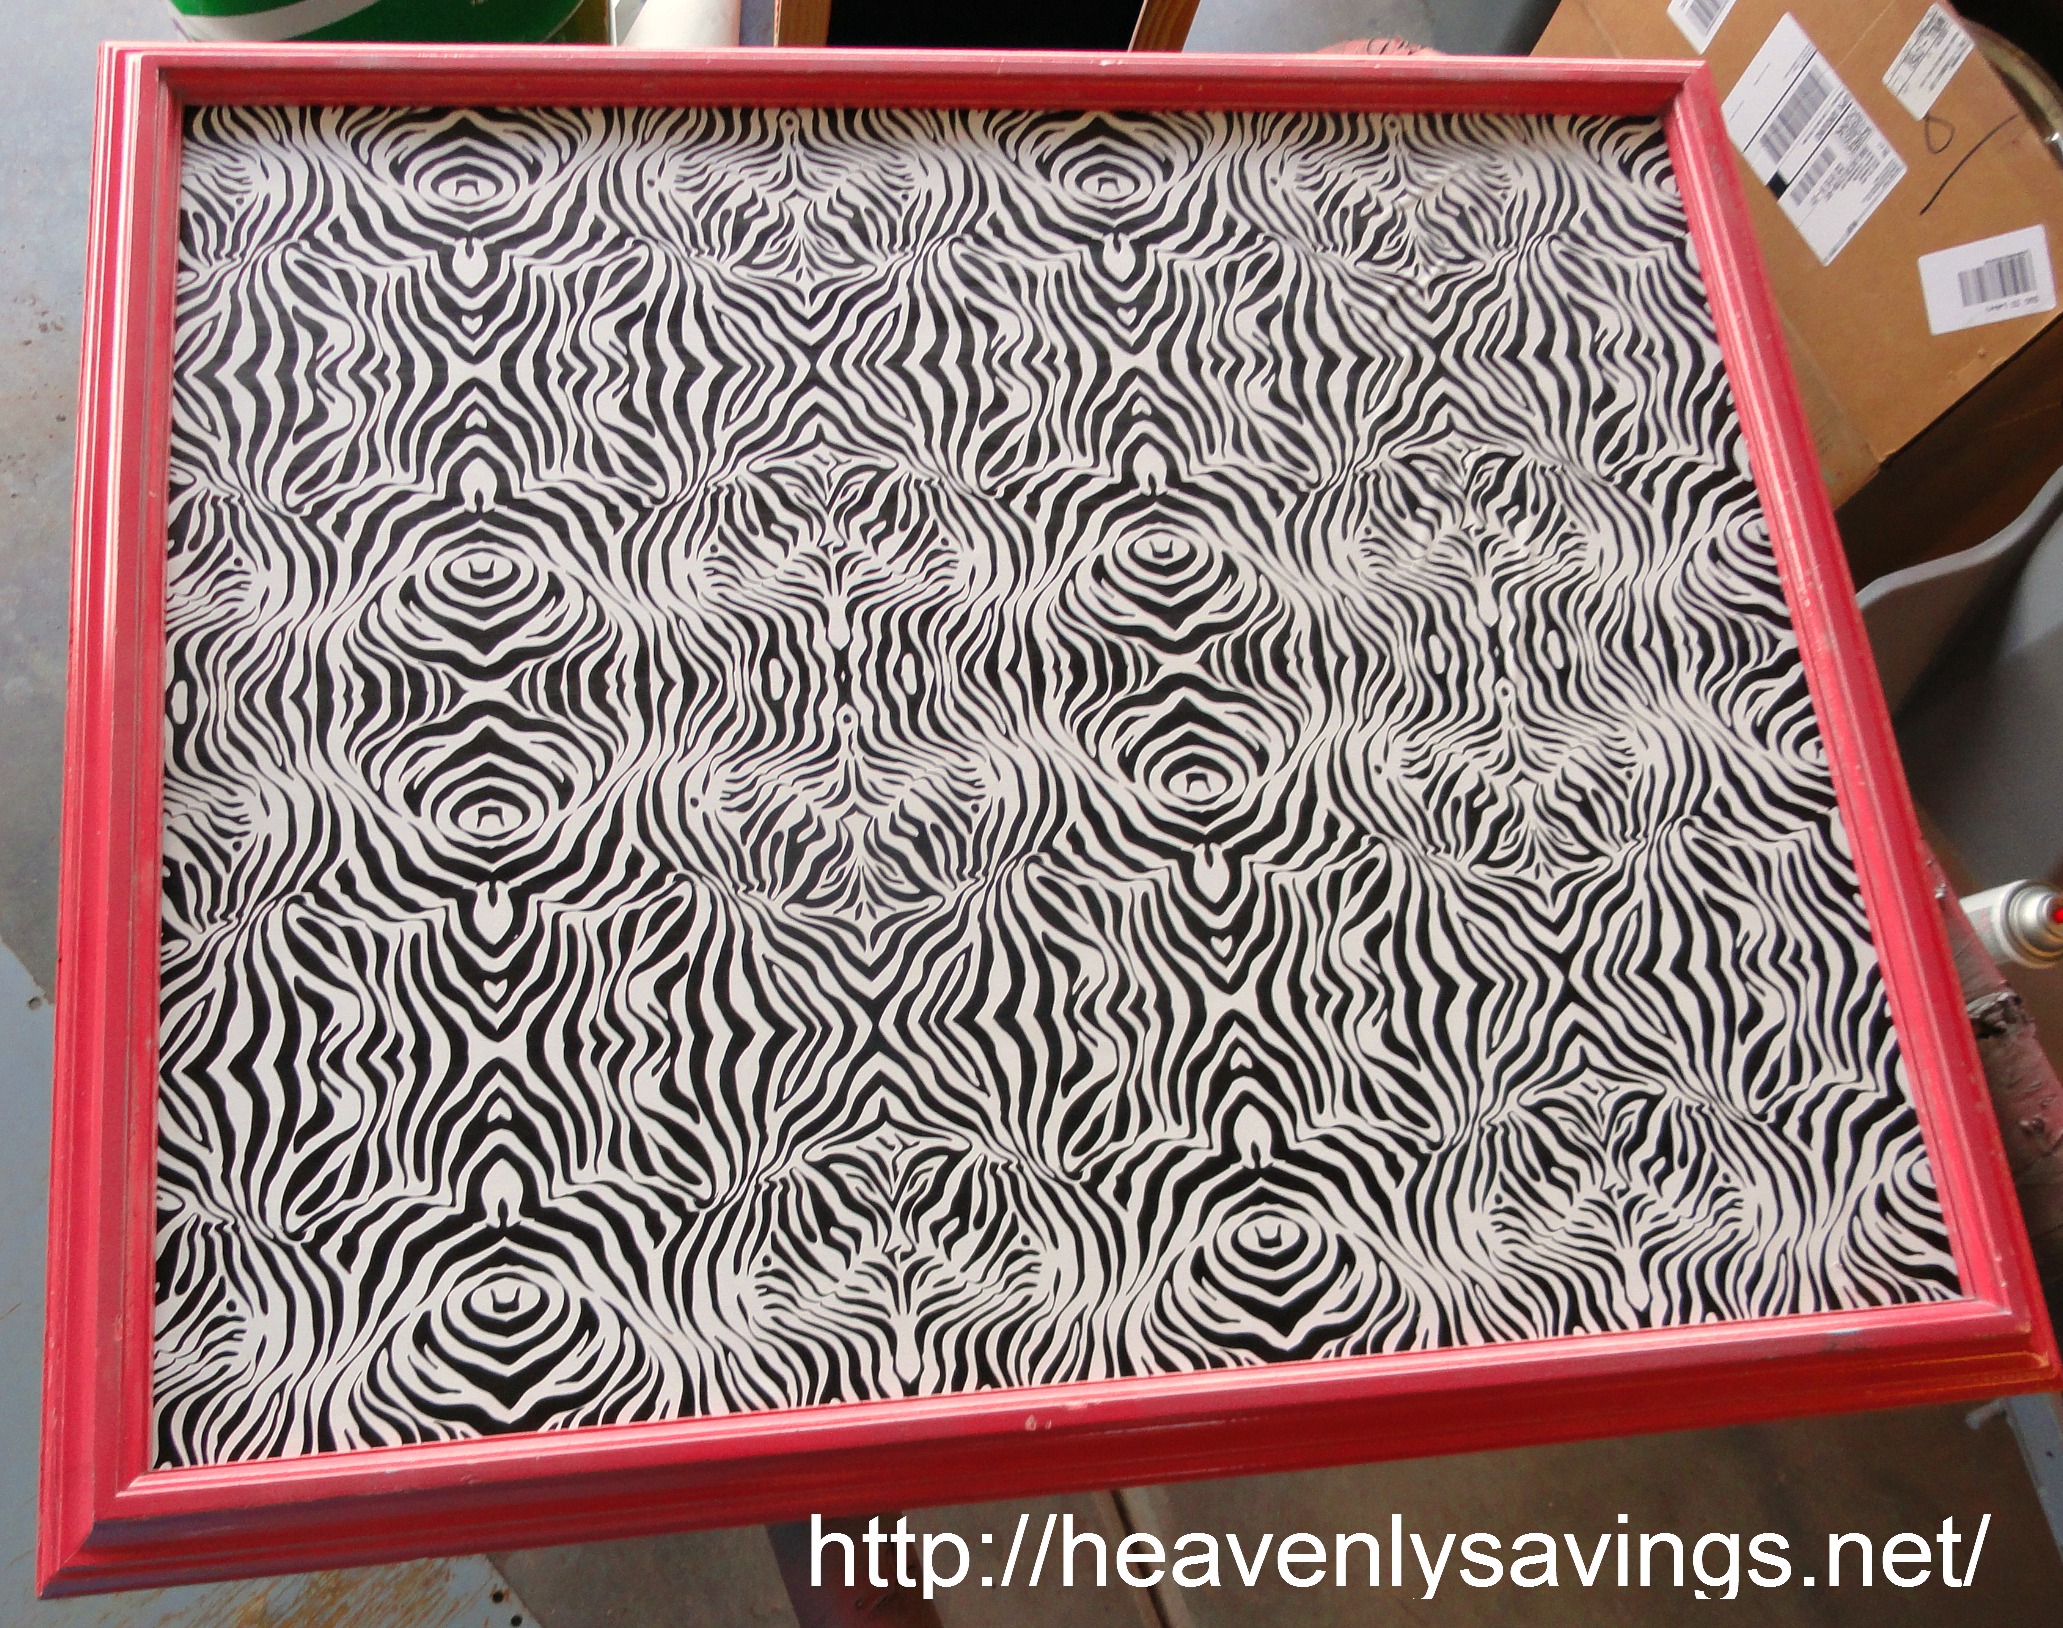
 Meanwhile as my husband cut out the metal that we would later use in this picture frame I decided to paint the frame a new color. I found a bright pink gloss spray paint and got to work making my frame new and shiny again!
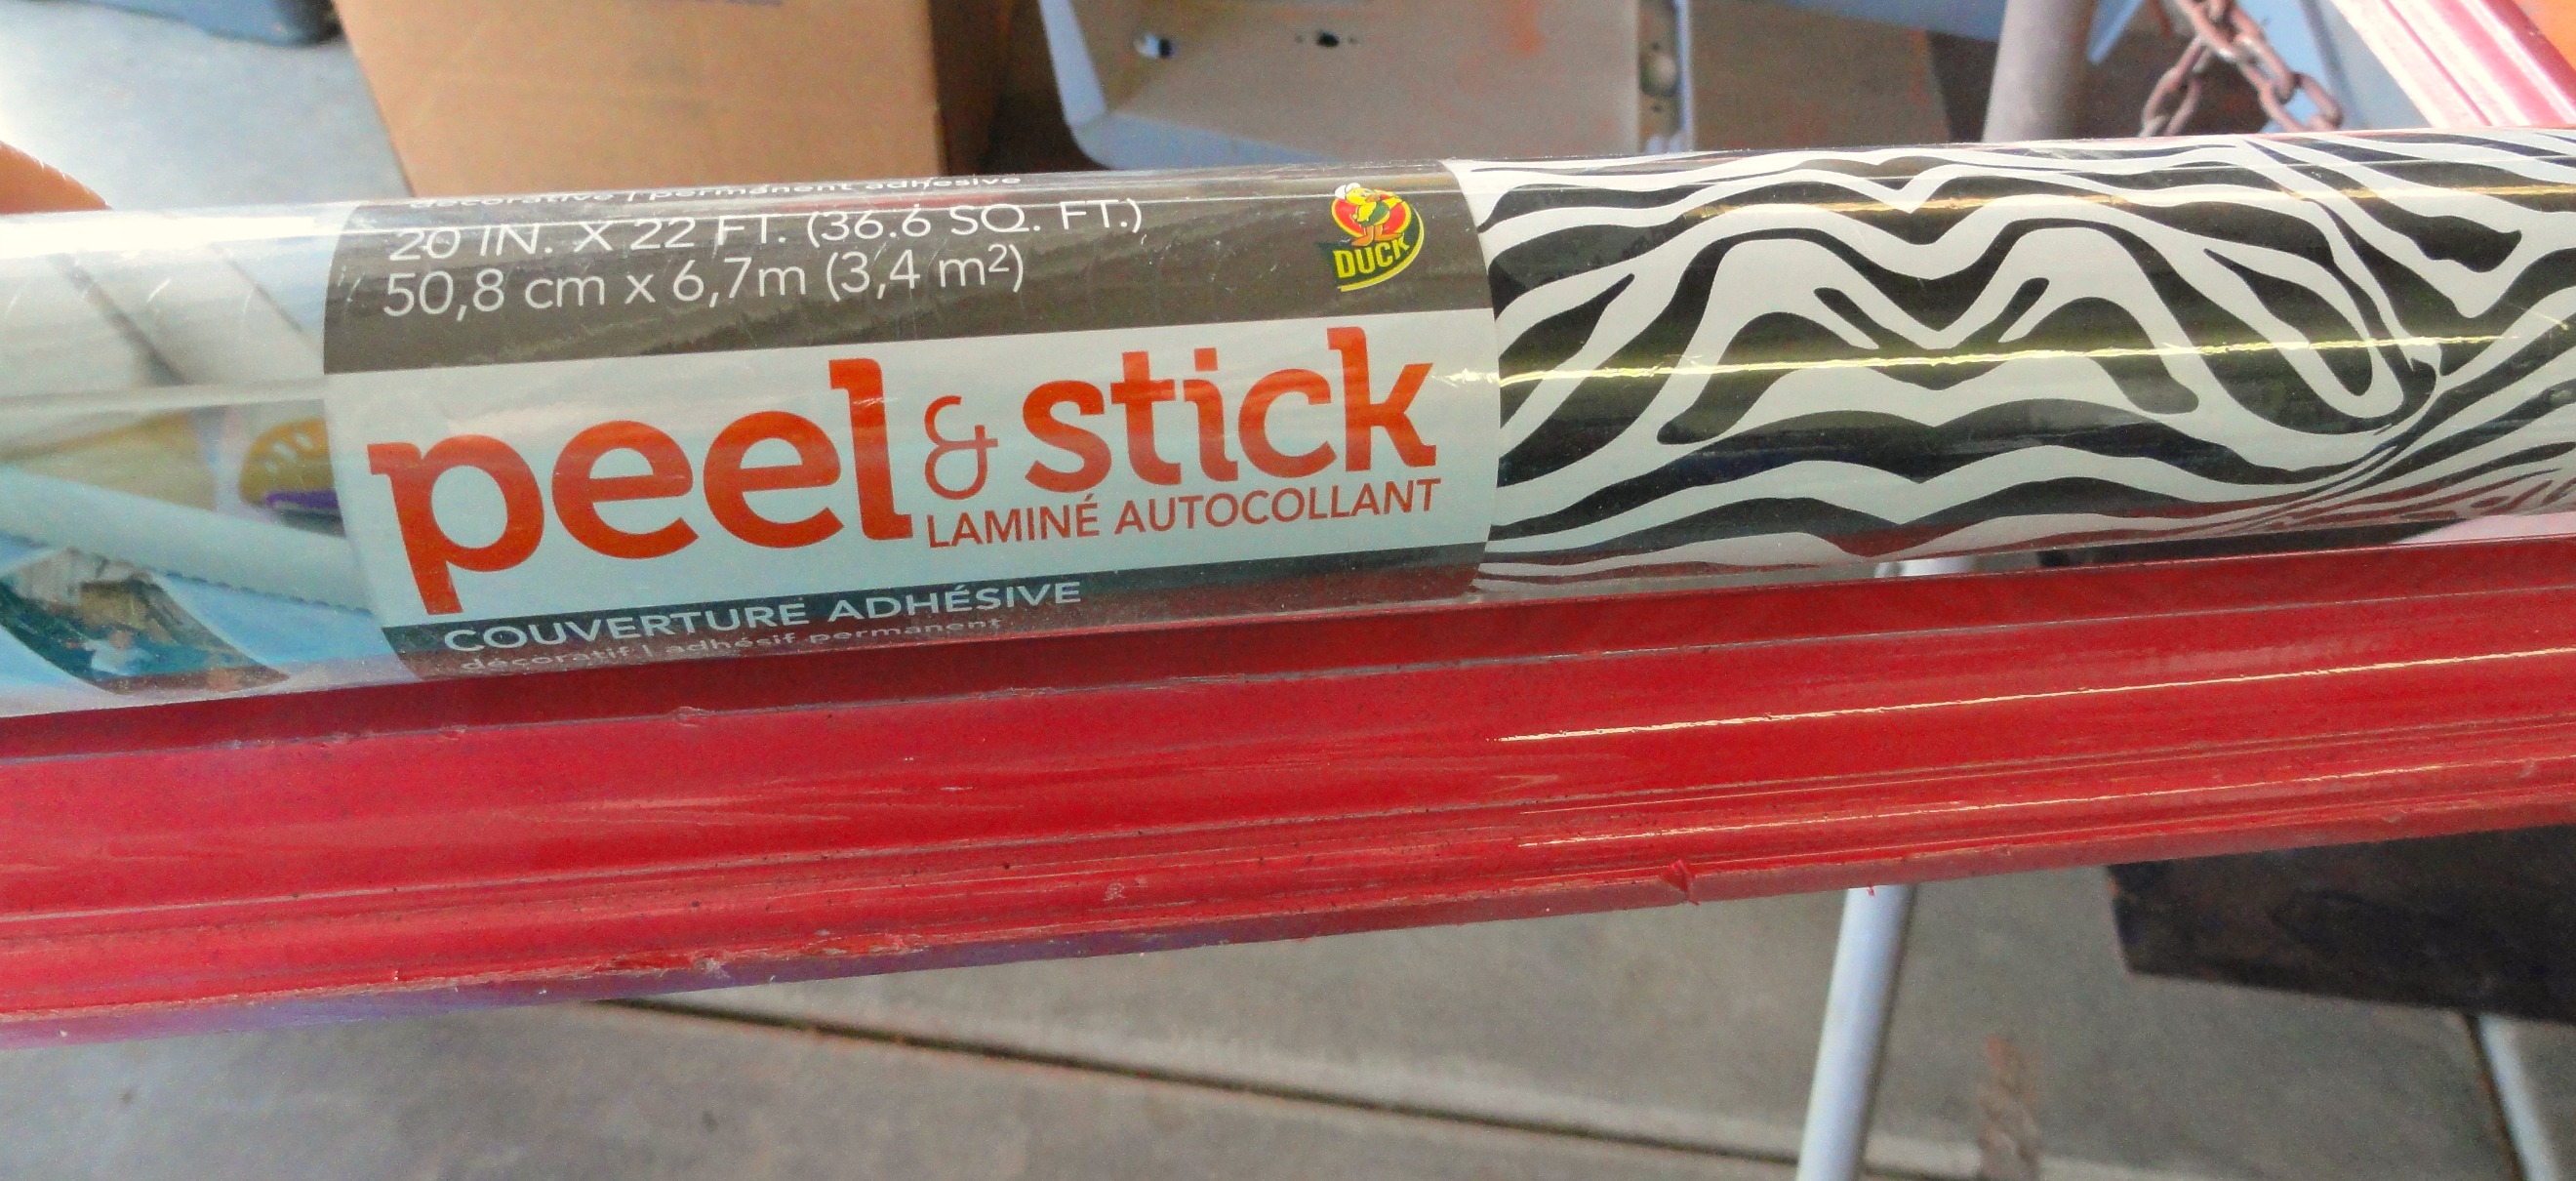 After the frame was painted and the metal was cut I pulled out some contact paper I had purchased earlier from Walmart. I knew that the zebra strips would go great with the shiny pink frame and would add some hip color to my bathroom!
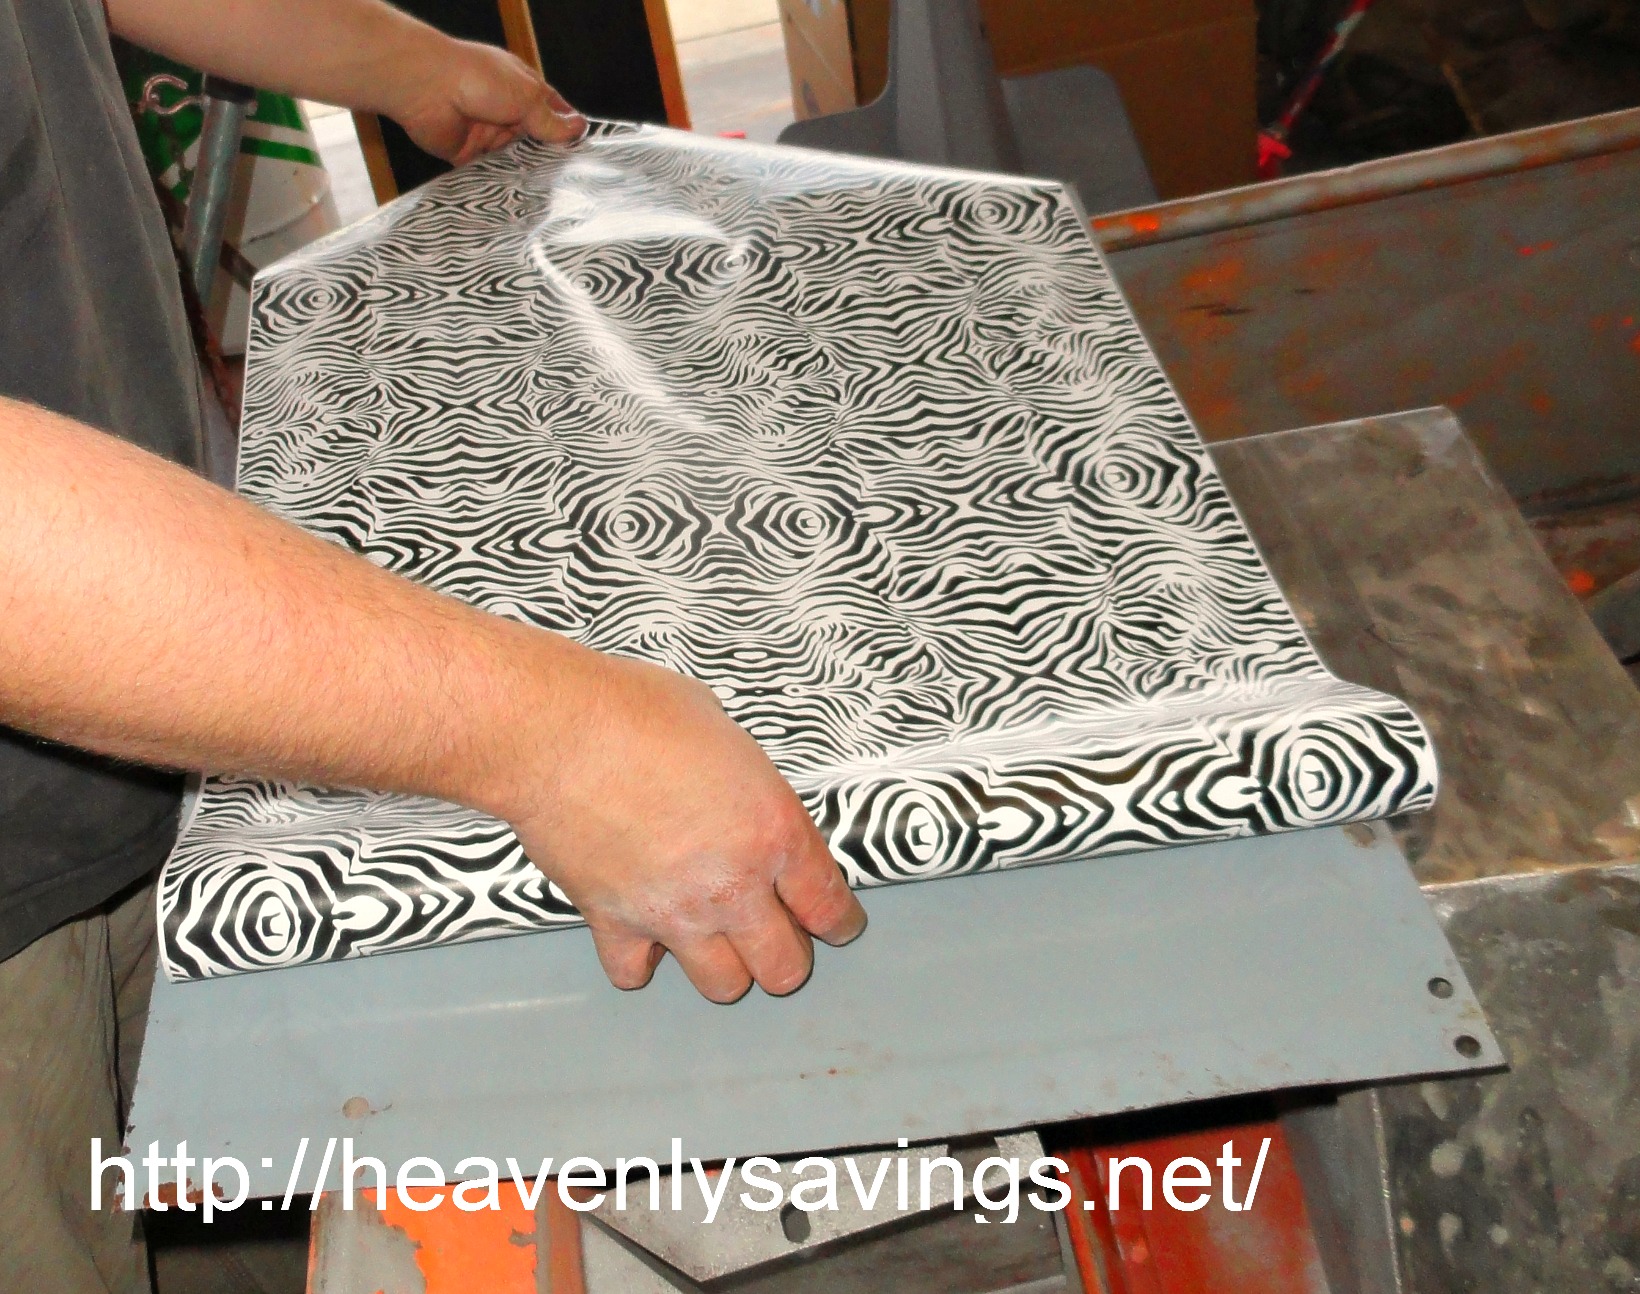
We covered the cut piece of metal with the zebra contact paper.
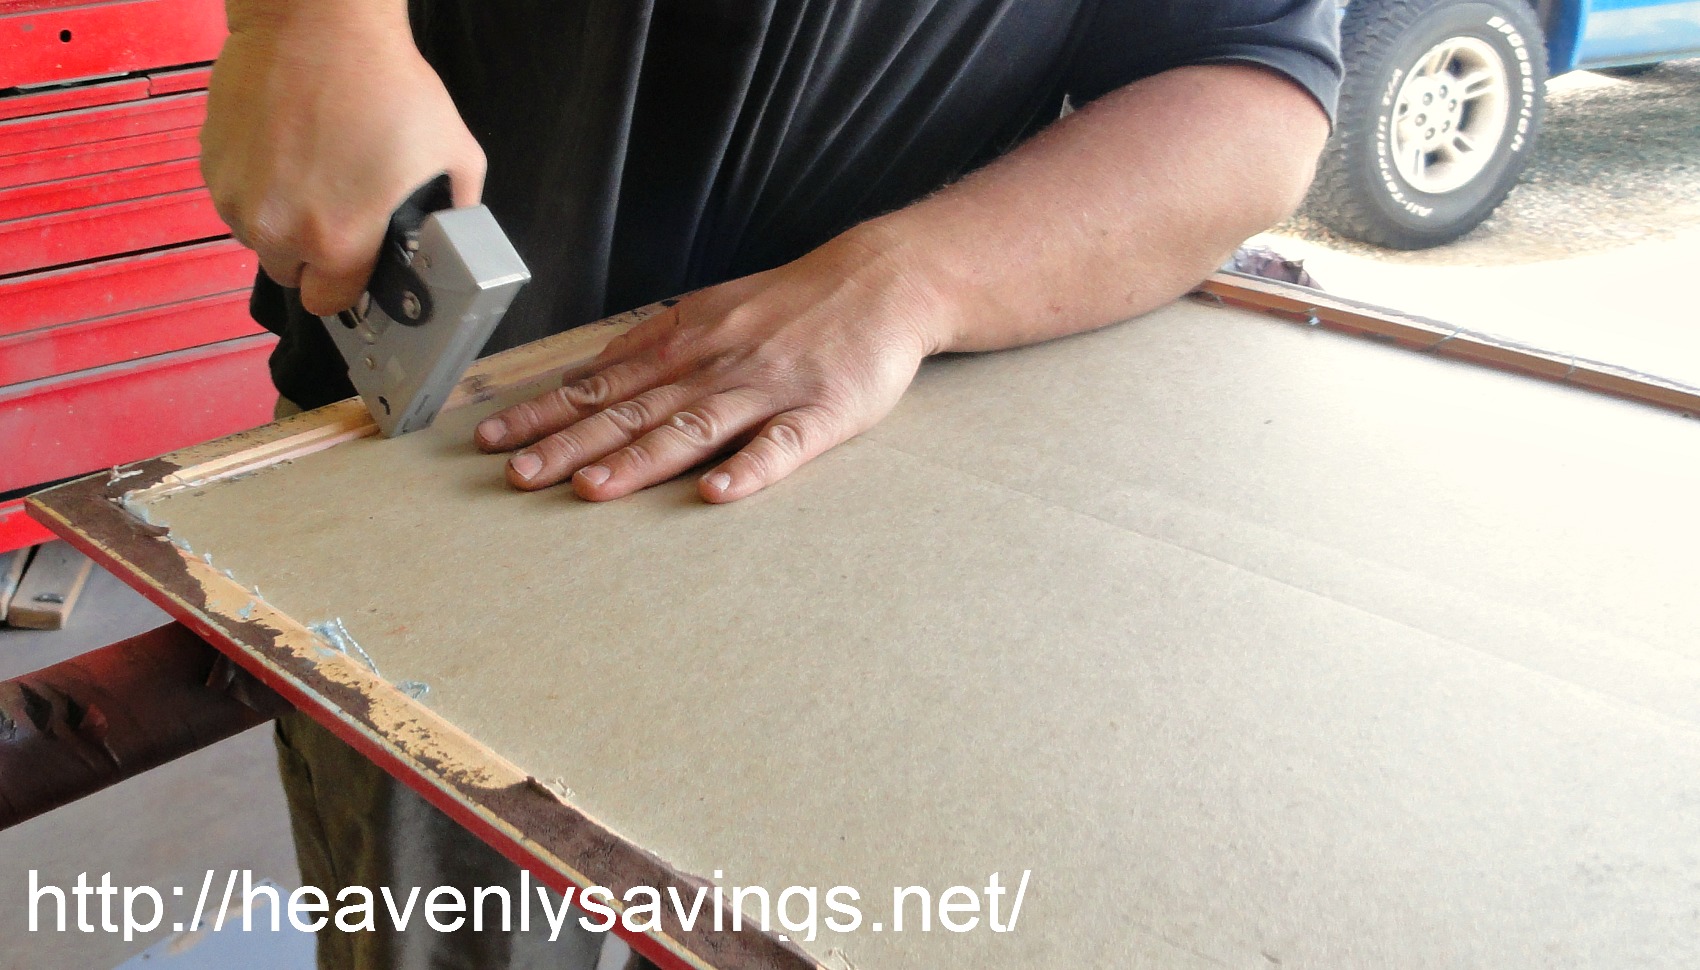 Next we put the metal into the picture frame and then put the cardboard backing back on the picture frame to hold the metal in place. Since my picture was held together with staples in the first place we decided that is how we would put it back together.
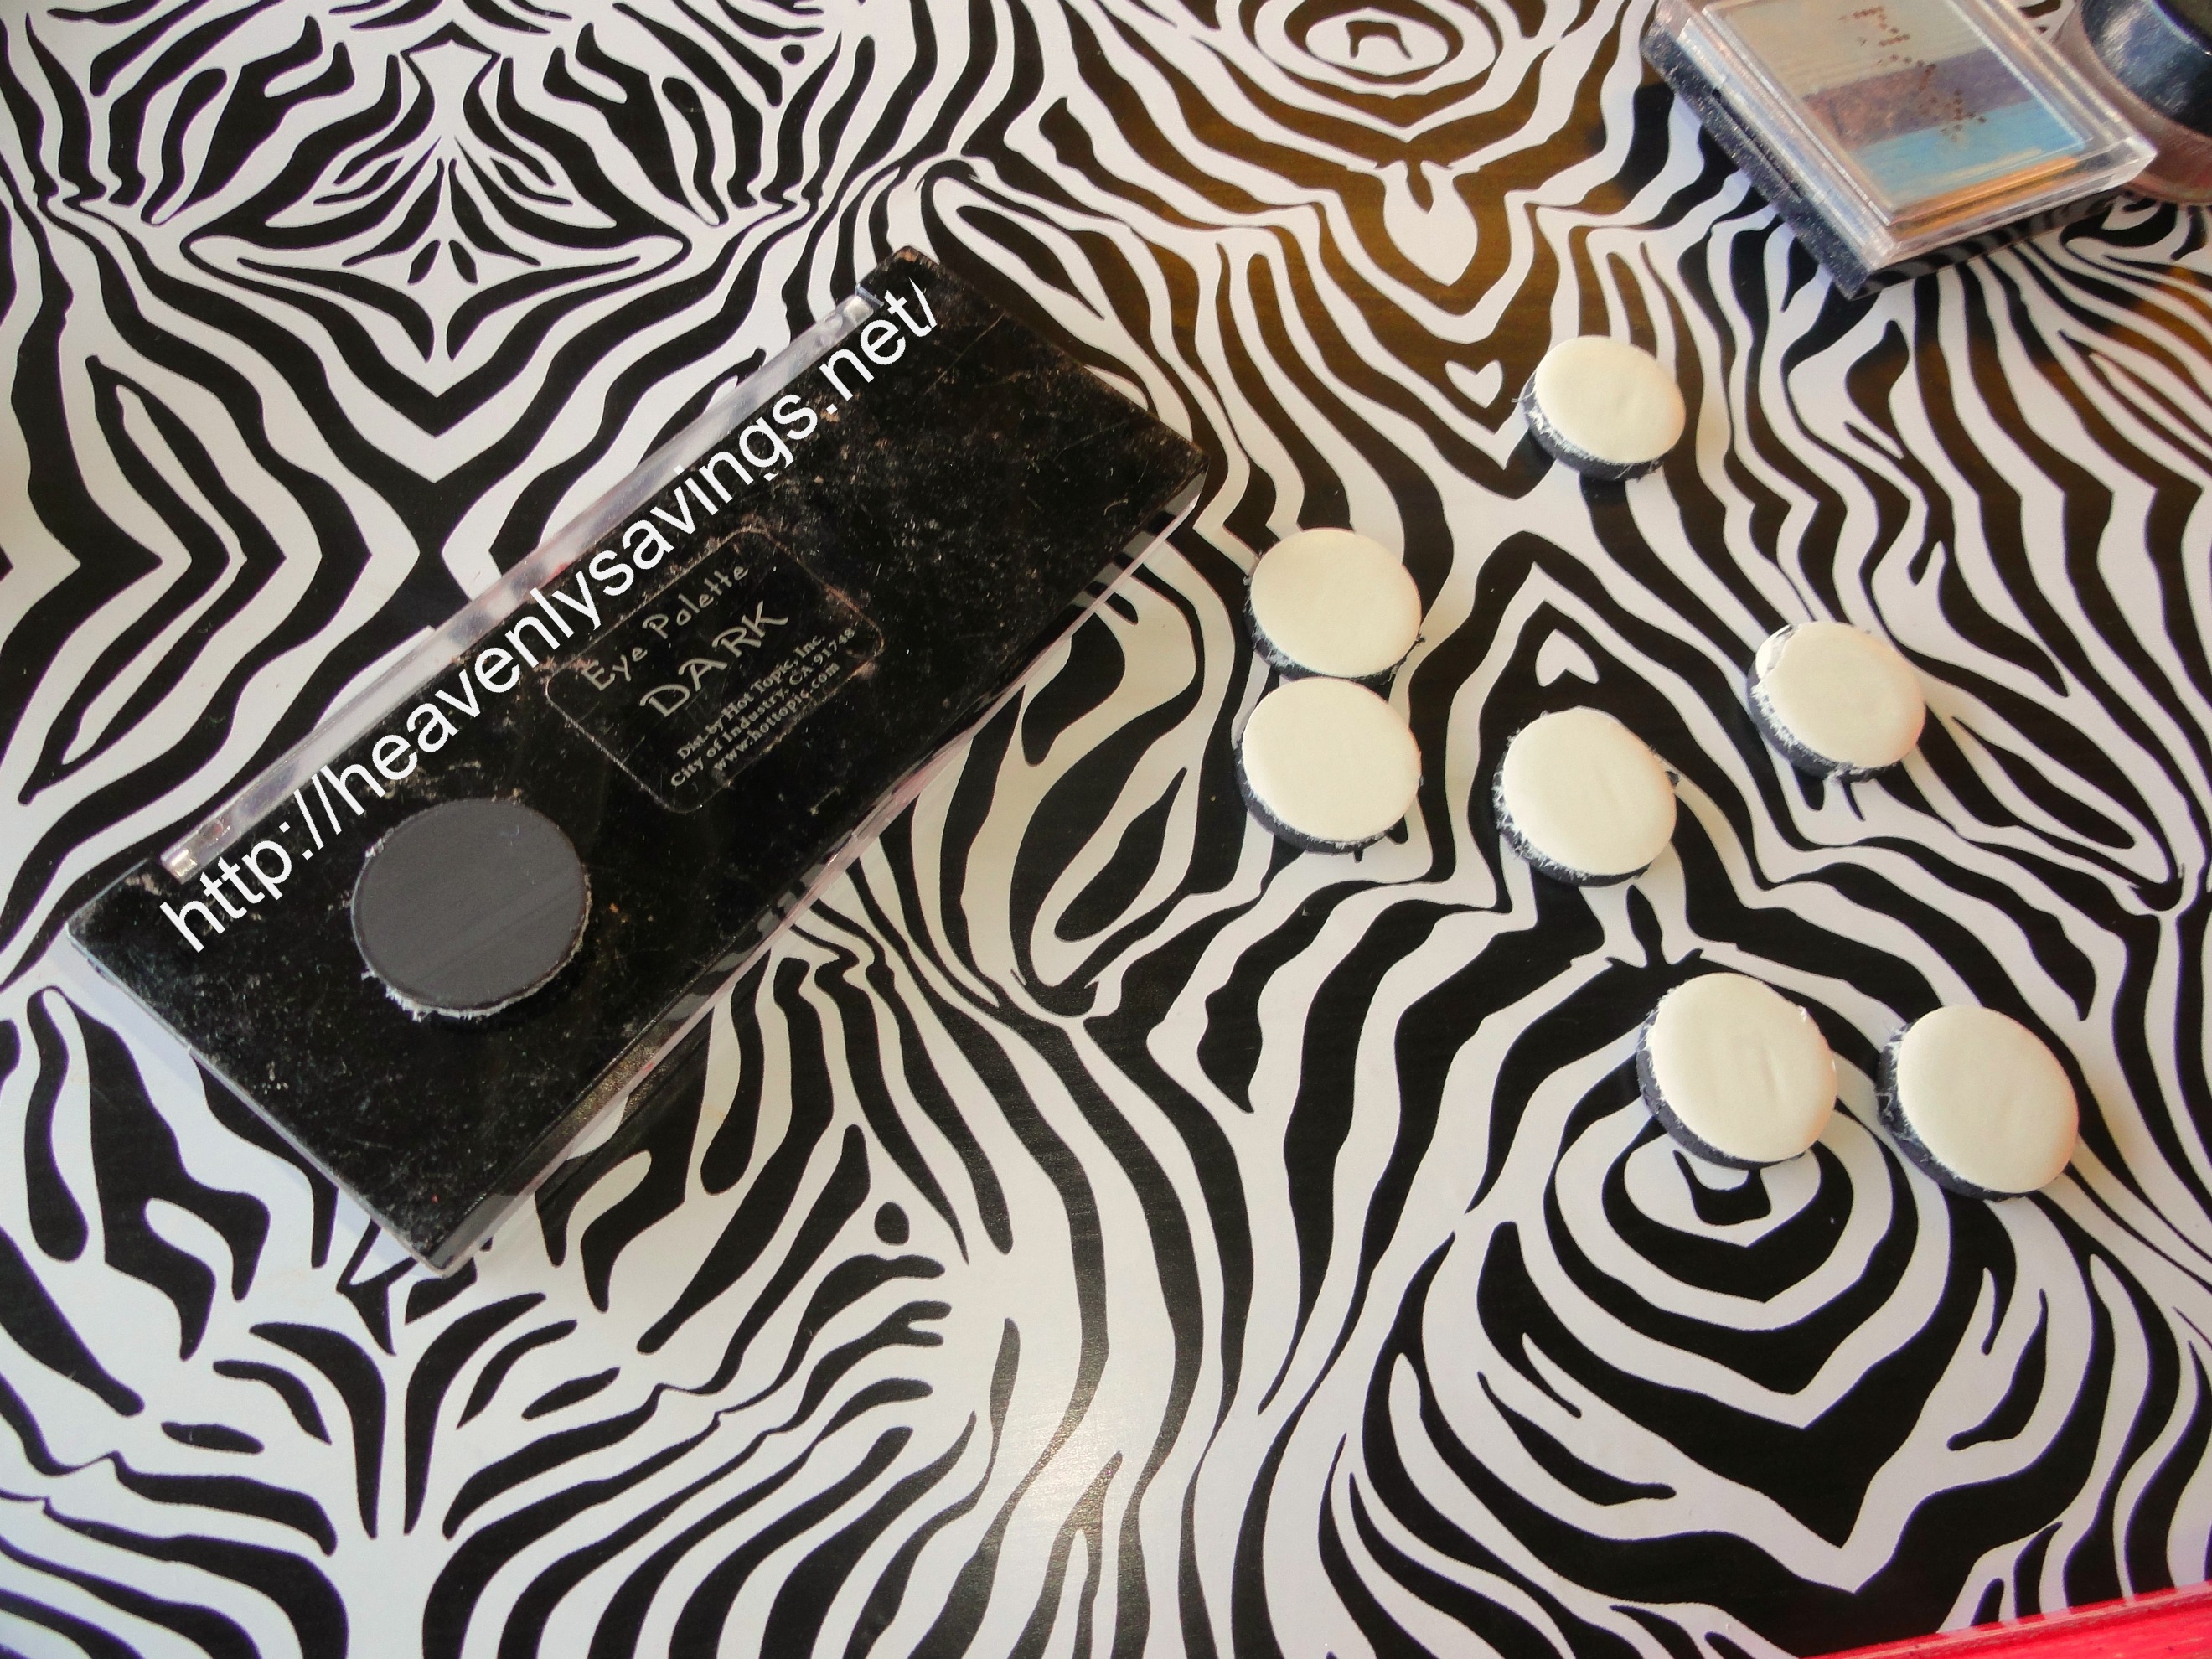 After the frame was back together I pulled out my makeup and some magnets. The magnets have a sticky backing on them so they just peel and then go on like stickers. Super cheap and easy!
Last but not least was hanging my new Magnetic Makeup Board! I hung it in the bathroom behind the door so it is out of the way but keeps my makeup nice an organized. I even purchased a pink cup that is held to the board with magnets and holds all my makeup brushes! Love it!
You too can make a magnetic makeup board. For the total project I spent under $10! See how simple that was!
![]()
Love this so much! Thank you so much for a great tutorial!
what a great idea, thank you so much for the idea, my kids and i are going to have so much fun making this, thanks again
my daughter will love for us to make this. Thanks for the idea!
Very cute! I could really use one of these! So much easier than one of those organizers with a zipper!
I’d love it if you link this up to my linky party. It will go on 2 blogs. http://diycraftyprojects.com/2013/04/whatcha-work-up-wednesday-30.html
Nice!!! This would make one awesome kids art center, too!! Love your idea!
Selene @ Restoration Beauty
What a great way to keep track of your makeup and have it be an art piece as well. Thanks for sharing.
this is soo creative!!
xo,
Sandy
Sandy a la Mode
What a great idea!!! Adorable!
I love the material that you used! Thank you for sharing on Fluster’s Creative Muster Party!
Robin
Fluster Buster
What a neat idea. I have never even seen something like this.
I have been wanting to do this for a while. I love that you brightened it up with the fun paint and that super cool contact paper! It turned out fabulously. If you’d like to share this at my link party, I would love to have you! What an awesome collection.
Krista @ While He Was Napping
Thanks! I’ll stop by and check it out! I also added it to my linky list! Thanks!!!
Cool idea! I love the zebra paper!
Navy Wifey Peters @ Submarine Sunday Link Party
http://usscrafty.blogspot.com/2013/04/submarine-sunday-29.html
Oh, wow- this is a great idea! Very cute- and very practical. This would save a ton of space! Thanks for sharing:)
That’s a really great idea, what a nice and attractive way to keep your counters clean of clutter!
I really like this and could really use it in my room…..now, if I could make it. I am not crafty at all…I may give it a try.
Love your blog!
I would love for you to share and link up at my TGIF Link Party.
http://apeekintomyparadise.blogspot.com/2013/05/tgif-link-party-2.html
The party opens Thursday night and closes on Wednesday night at midnight.
Please, invite your friends to party too! The more the merrier!
Hugs, Cathy
I love this! So creative! Plus, I love the colors you chose! Great job! 🙂
This is a great idea…my daughter just got her own apartment and I think this would make an ideal gift for her.
I have some old picture frames and just need to get the tin…I think my Lowes will even cut a piece to size for me if I ask them.
I will make some bottlecap magnets too and she can use it in the kitchen as a message board…thanks for sharing!