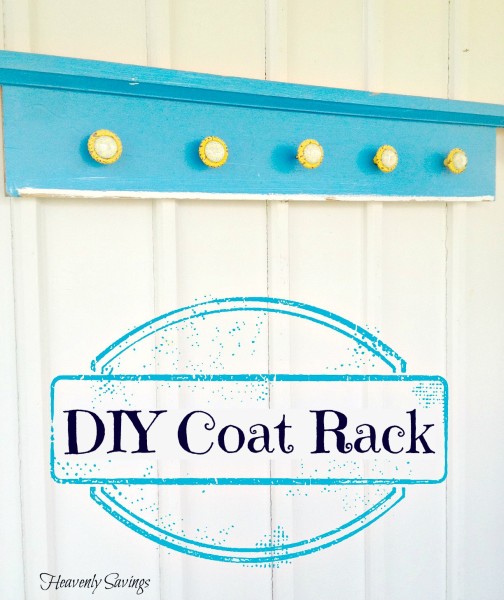
DIY Coat Rack
You would be amazed at how simple it is to turn a piece of scrap wood into a functional coat rack. It is simple, inexpensive, and a great way to reuse something that is otherwise destined for the trash. Take a look below at how you can turn a piece of basic scrap wood into a coat rack, perfect for keeping your own coats, bags, and other belongings high and dry. It is much easier than you might think.
DIY Coat Rack
Supplies needed:
Piece of scrap wood
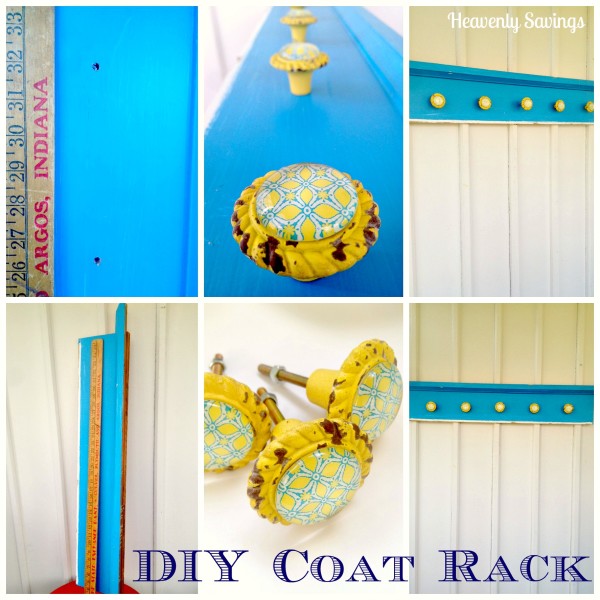
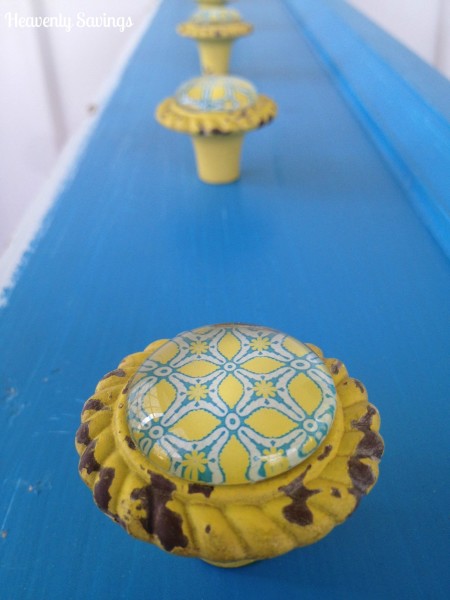
Assorted decorative knobs
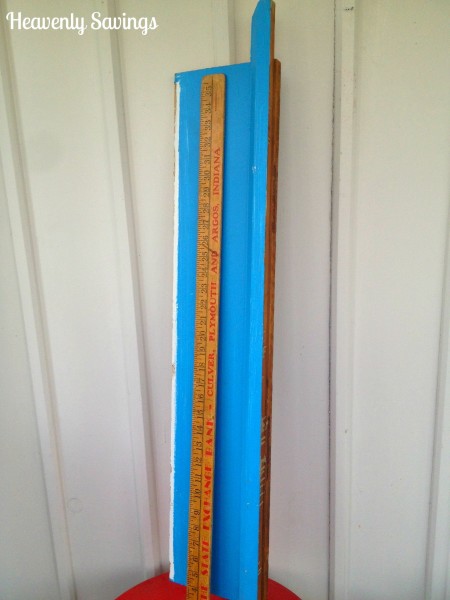
Yard stick or measuring tape
Drill
Sandpaper
Paint (optional)
We were able to find a nice piece of scrap wood sitting out on trash day. You want something that is sturdy, nicely sized, and free from mold or mildew. Don’t worry about the color or finish, as that can always be changed. Decorative knobs can be found at your local home improvement store or Hobby Lobby store. We were able to find these for around $2.50 each.
Directions:
1. Begin by cleaning the wood well with warm water and soap. Remove any debris and sand any sharp or rough spots with sandpaper.
2. Paint the wood piece if needed. Luckily ours was this color when we found it so all we needed to do was clean it. If you paint yours, apply two coats and allow plenty of drying time in between coats.
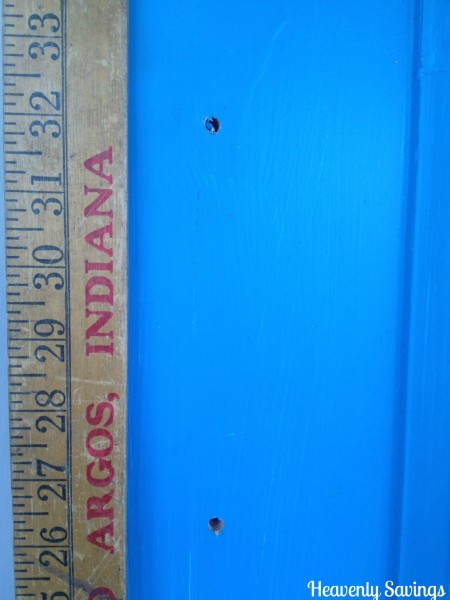
3. Now you need to measure to see where the holes will go. Decide how many knobs you wish to add to the piece. Then, measure the length of the piece and divide it by the number of knobs you are adding. For example, if the piece if 40 inches long and you want to add 4 knobs, you will add a knob every 10 inches. Mark the spots you are going to drill with a pencil.
4. Drill the holes in the designated spot. A basic/standard drill bit should work unless you are using rather small or rather large knobs.
5. Wipe the piece clean to remove dust. Insert the knobs and fasten them in place.
6. To hang your piece, you can either add two hooks to the back and wire, or, you can drill the piece directly to your wall.
See how easy it can be to create a fun, frugal, and functional piece such as this? Keep your eyes peeled for scrap wood that would be perfect for this project!



Wow, that came out so good! and the colors of yours would match my kitchen perfectly 😉
The colors you chose look so pretty together. The yellow just pops against that shade of blue. The project seems like something I would be able to do.
That is a lot cuter and brighter than the boring ones you see in stores.
I LOVE LOVE LOVE this! Totally my style. Thanks for sharing.
OH that is super easy and I love that this DIY coat rack can be made to match any decor. This would be great for my daughter’s room.
I love the colors you used for that piece. It looks fabulous!
oooo I like this! I just got into making things out of wood. So fun right! I love the colors you chose. Looks great.
I absolutely love the knobs you put on your coat rack! Super cute! You did a great job. 🙂
That turned out beautiful!
This is a great idea. Very easy cool décor.
I love this! I think I’ll have hubby make it for me. 😉
That is really a cute idea…I might make on of these for my spare bedroom. Great for guests to hang their items
Love it, The color blue and yellow is beautiful. I think i need to make my own rack! Thanks for sharing!
Super cute! Will have to pin this for later!
We need something like this desperately in the garage.
quick, simple and doesn’t look hard to make is perfect in my books!
Oh my gosh, this is darling!!! Where did you get those cute knobs?
So cute and looks easy to make. Love those knobs!
I’m very into DIY lately. This is s really cute idea!
Very pretty and I love the colors! What a great DIY project!
What a great and easy craft! I just love the color and shabby knobs!
I love these home made coat racks so much! I really need to get some time to make my own, it’s so cute.
I want to make one now too. This is pretty simple and the knobs are too cute!
That is so adorable! I am definitely going to try this, we need better organization for our coats around here.
I’ve scraps of wood everywhere thanks to my husband work, I really need to try this but I want some knobs as cute as those
That is gorgeous! I love how vintage it looks.
I love it and we could sure use this ourselves
This looks easy to make. I like that yours is so colorful!
I love this idea. Thank you for the information.