This past week I have been working hard getting my family all ready for winter. This also included drying a variety of herbs that I will use in my cooking this season.
My favorite way to dry my herbs is in a brown paper bag. It is super easy to do and will save you money in the long run!
First thing to do is select fresh herbs that are nice and green. Pull out any brown or yellowing leaves that you see. If you have grown them yourself then make sure to try to remove any excess dirt. You will want to try your hardest not to fully wash your herbs since that will make them hold a lot of water and will have them mold instead of dry.
Once your herbs are selected you will want to tie the ends with a rubber band of string.
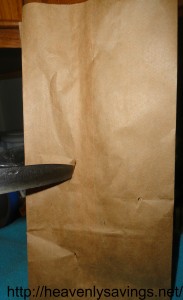
I use the brown paper lunch bags to dry my herbs. First off you will want to take a knife and cut several slits into each paper bag. This will allow for the air to come into the bag and help to dry but will help keep any dust and such off your herbs as they dry.
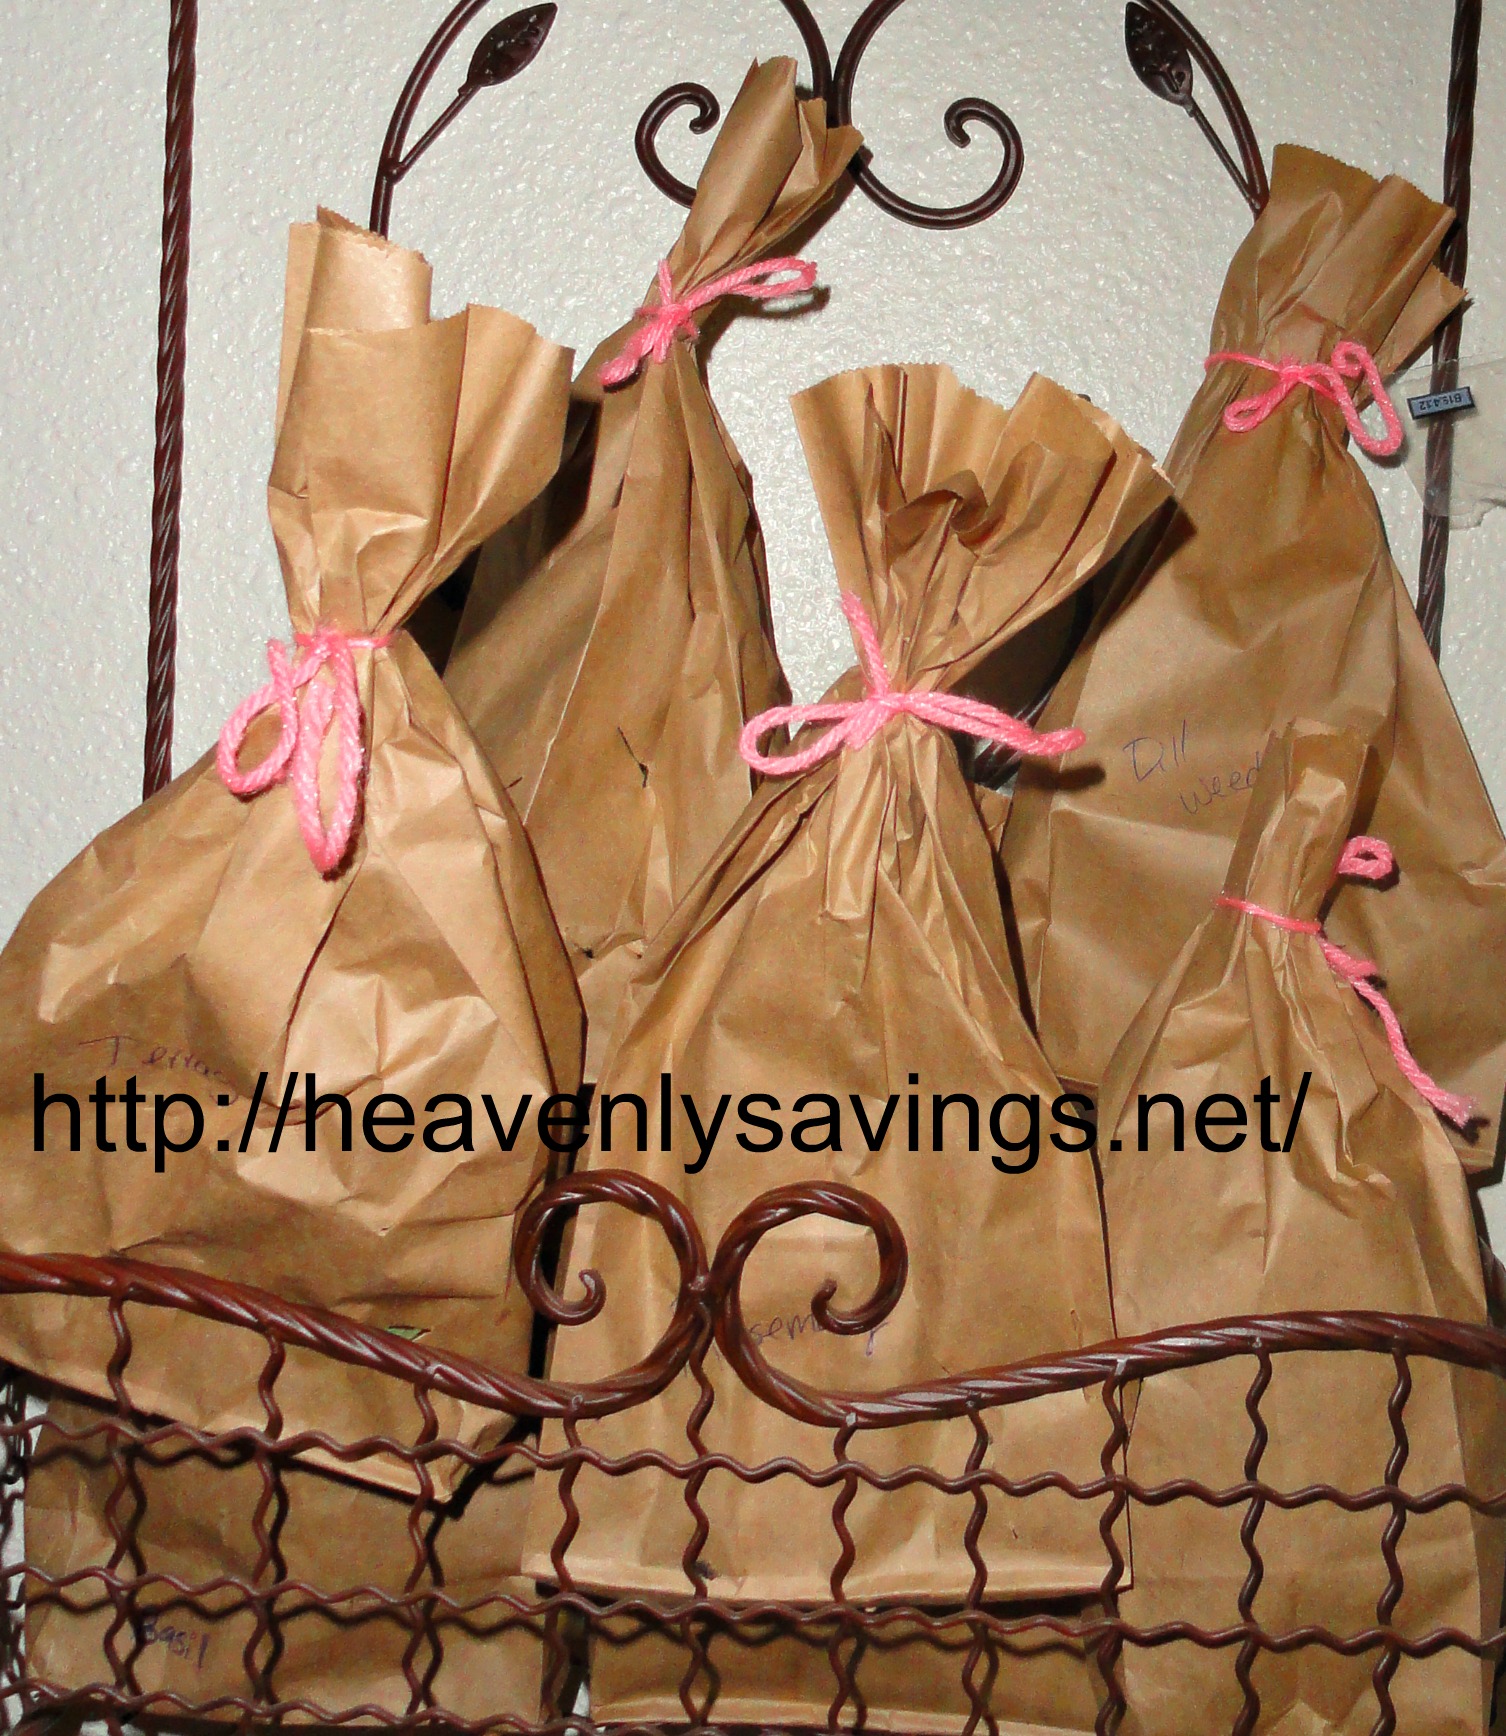
After you cut your slits into each bag place the herbs inside and tie the tops with a piece of string or yarn.
Make sure you write the name of the herb on each bag and then hang to let dry. I place mine in a hanging basket alternating them every other day so they can continue to get enough air to dry. After about a week you can open them up and check on them. Once they are fully dry you can crush them with your fingers to break them into small enough pieces to place into jars or whatever you use to store your herbs!


This is a great idea! We have a lot of herbs that grow almost wild (like peppermint) and I would like to take advantage of saving them before winter arrives. I’ll have to do this next year!